On monday the 16th of January the construction of the first SoWaDi device and thus the test of the construction manual we worked on for the last two years started. Our project partner Gasiano Senzighe allocated four students and one teacher to our project, which should now be able to build a SoWaDi device using only the construction manual without direct help from us. Our main task was to watch and document the building process and how the students would deal with the manual.
After a short introduction and a briefing the students read the first chapter of the manual before starting the construction process. The first step was to build the wooden box for the absorber.
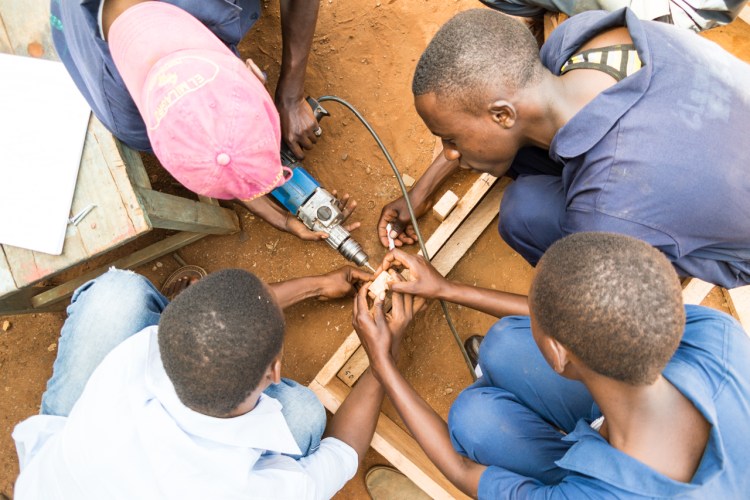
Construction on the first day did not go as well as we hoped it would. Neither the students, nor the teacher were used to the concept of a step by step introduction. This got a little better on the following days, when the tools for pipe and metal sheet bending were built. Parallel to that the wooden framework for supporting the absorber and holding the canisters in place was constructed. Thursday and friday all the different parts were assembled and the canisters connected so that the device was finished on friday.